
Before & After: Edit Your Phone Photos Like a Pro
I fell in love with photography in high school. I took a class, just for credit, and fell in love. The first time I watched a photo develop in the darkroom I was hooked! But not just on the final product - on the process! I love it beginning to end. Now things are a little different, no need to have a whole darkroom, you have everything you need in your pocket! We take phone photos constantly. And while some may criticize the "overuse" of phones, I prefer to see the ease of photos as a good thing. But phone photos don't always look amazing right off the bat. This blog series is all about turning your phone snaps into great photos with tips from me based on the same edits and apps I use every day!
This week I'm showing you an edit of this photo I took of one of my new succulent babies. I have quite a few growing in my kitchen window. I am slowly turning into a plant lady, I think. But I photographed this one specifically cause of those little hot pink tips! So making the colors pop was important on this one.
The light in my kitchen is pretty great. Bright light, without direct sun. But the phone still caught a snap that was a little on the dull side.

original image shot with iPhone 6s
But that's an easy fix with one of my favorite apps, A Color Story by A Beautiful Mess. It is more than just beautiful filters. It also has great editing tools so you can really make your images your own. I use this app more than any other. I love it.
Here is what I did:

Like with my professional DSLR photos, the most important thing I do is use the curves tool. In this app you go to Tools > Adjust > Curves.
This is a screen shot of exactly what I did.
I went up just a teeny bit with the mid point to brighten the photo overall. It didn't need too much but just a bit.
Then I pulled in the top point in a little to brighten the highlights and the bottom point in a little to make the shadows richer. And for a little extra pretty I also pulled the bottom point up. This is what gives it that matte - faded quality.
Next, I had to go for the saturation tool. This one is just a few to the right of the curves. I guess I used 124%. There isn't a way to see the percentage till you get to the end but this is about halfway to the right of the middle. SO just drag the dot till you get a saturation level that works for your photo.
After that, I still felt like it wasn't perfect so I tried out some filters and settled on a little of Punch. You can find in the Blush collection. (I am pretty sure thats one of the free ones). In this app you can choose how intense you want the filter to be. I didn't want it to be to "punchy" so I lowered it down quite a lot.
And that's it! Super easy. It took me - maybe - 5 minutes and it took my photo from plain to pro.

Here are a couple more images I edited with the exact same steps:
It's all about a little color pop!
Have fun playing with this app. It is so awesome.
Keep in touch! Tag your photos with #InTheStudioWithRJ so I can see what you make!
xx, RJ
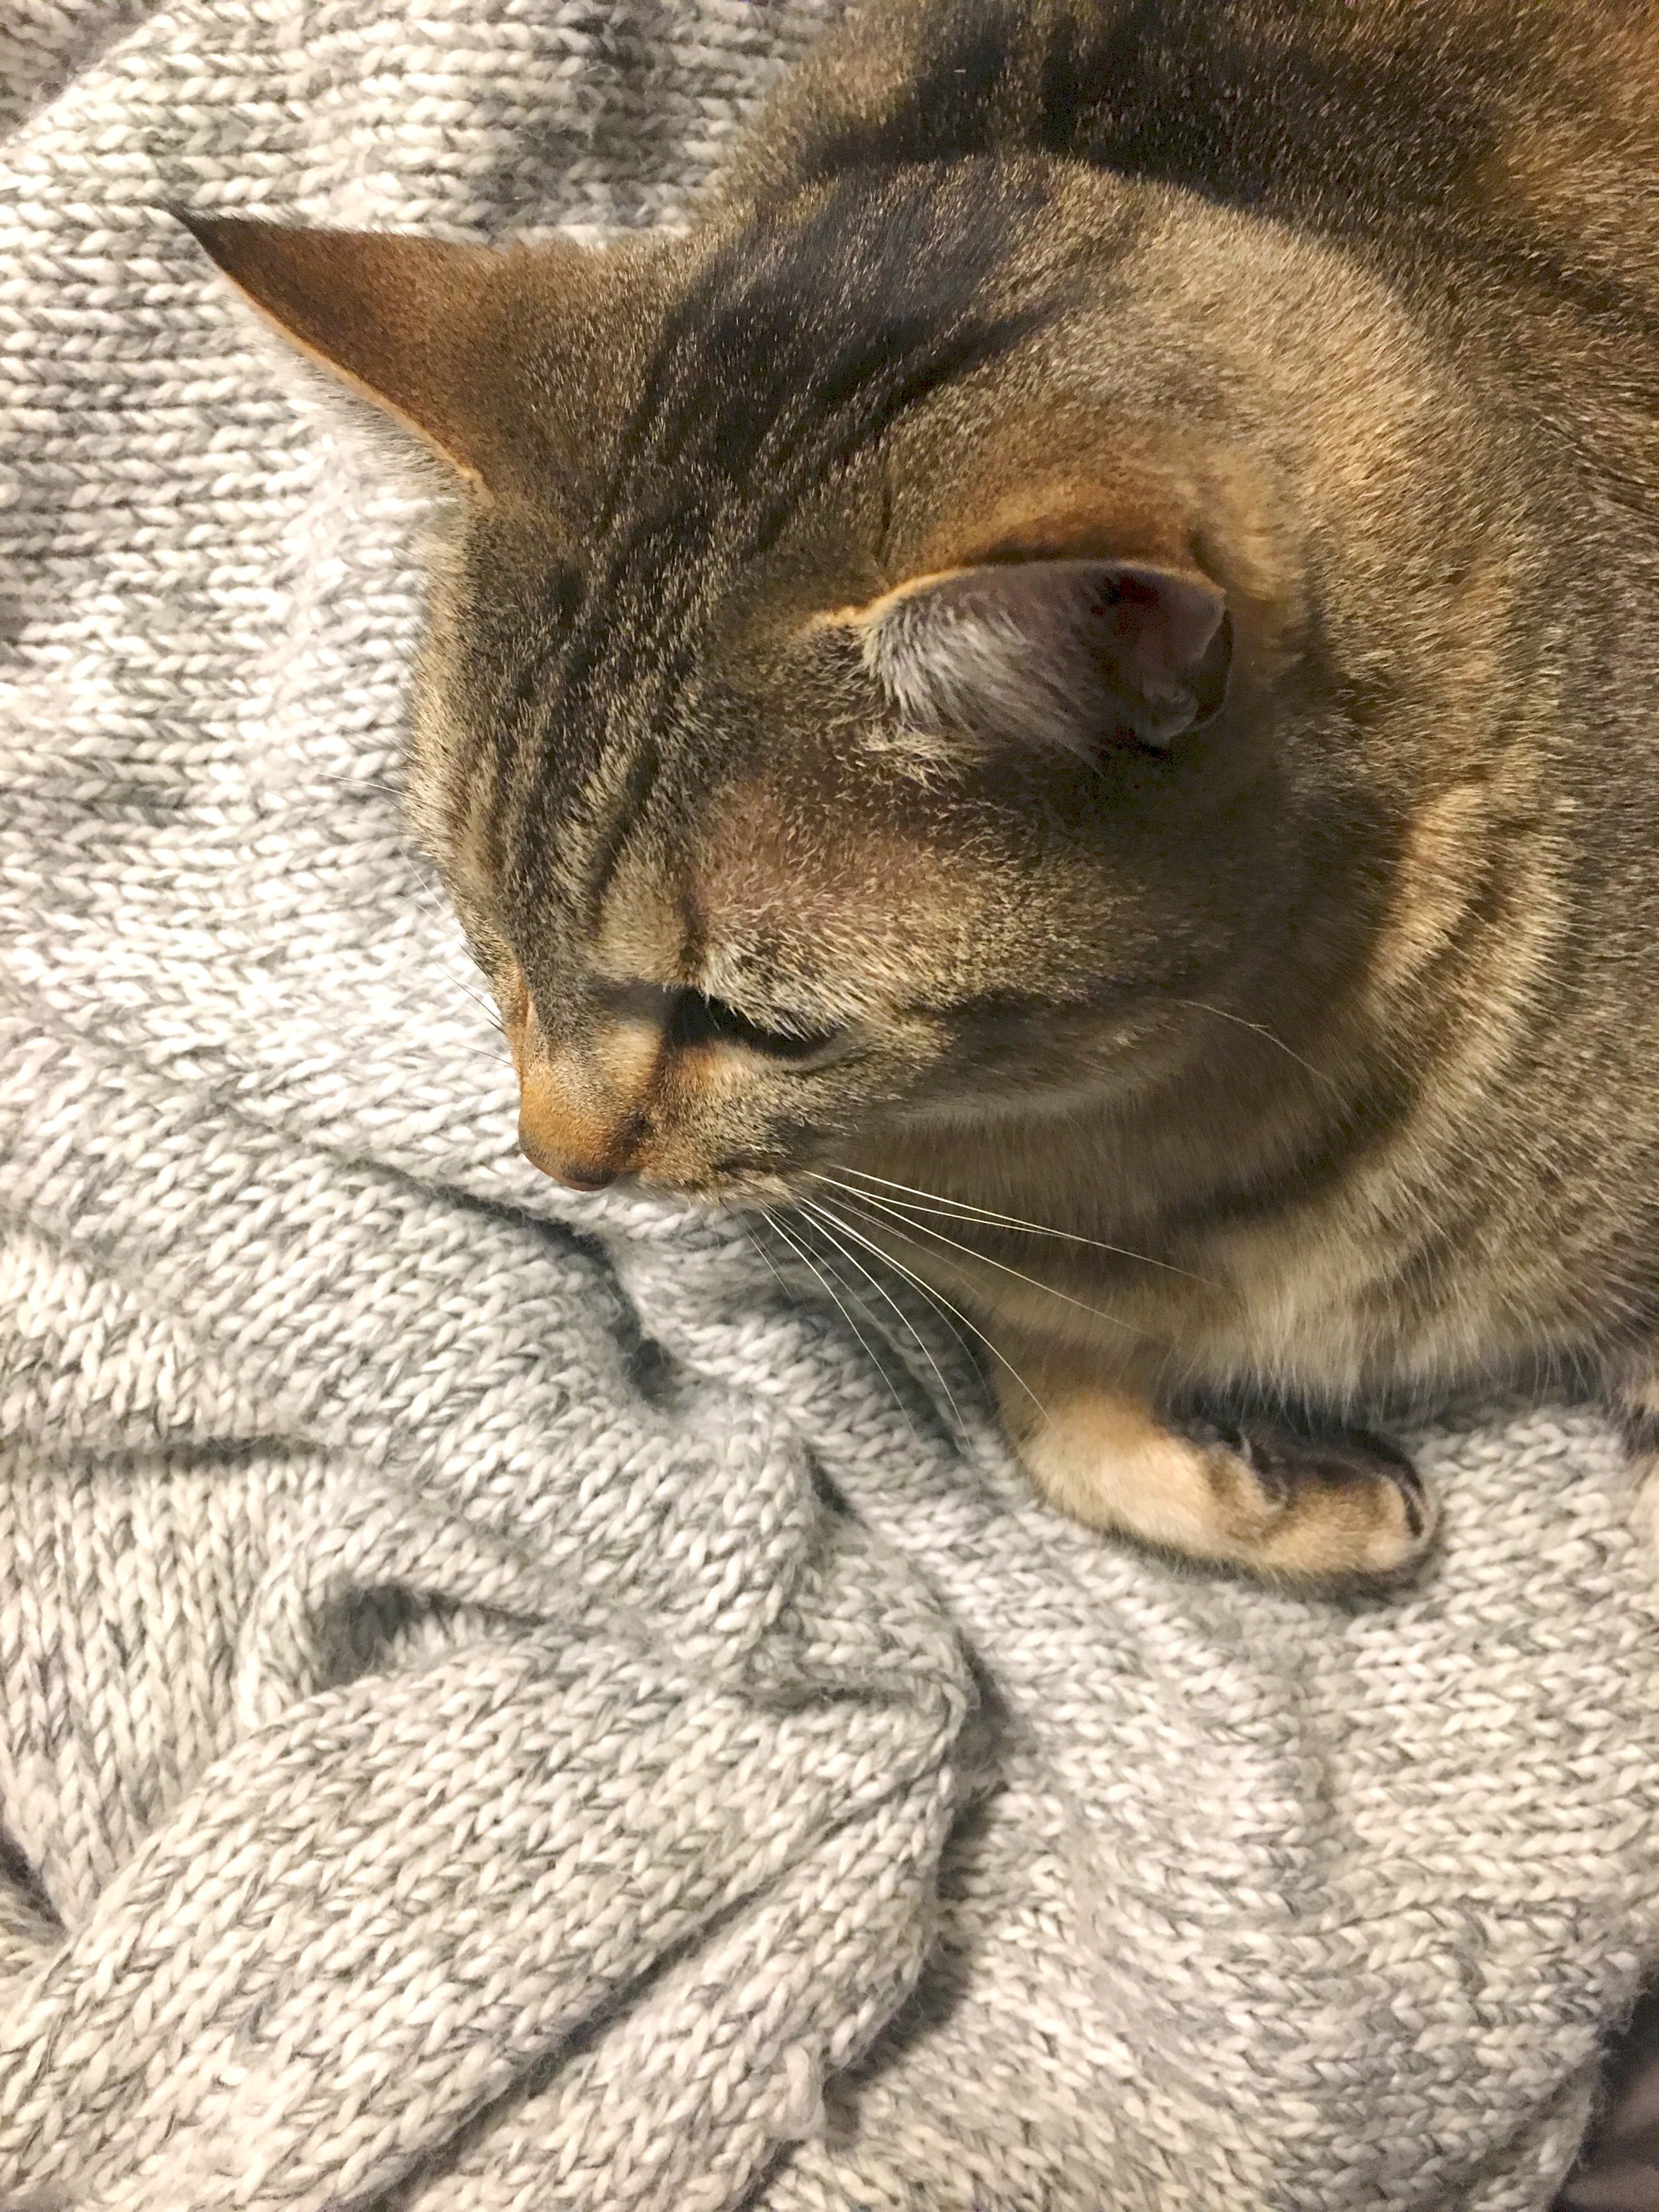
P.S. How cute is my cat?